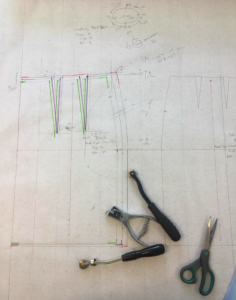
Pattern grading should not be confused with pattern alterations. Alterations are the process of making a pattern fit the nuances of an individual body. Whereas, grading is the process of creating a range of new sizes, or a size run.
Grading may simply be defined as the increasing or decreasing of a pattern according to a set of corresponding body measurements. The secret to professional grading is to understand where the body requires these changes.[1]
Patterns can be graded using: the cut and spread method, pattern shifting or with computer grading.
We teach the basics of Grading in a 3 hour workshop at Thread Den – click here to read more.
Helpful Tools for Grading:
Pattern Drafting Tools
- Awl
- Curve rules
- Dressmaker’s square ruler
- Grading ruler
- Measuring tape
- Pattern notcher
- Spiked tracing wheel
Pattern Drafting Stationery
- Mechanical pencils (eraser & sharpener)
- Highlighters in 4 colours
- A four coloured pen
- Markers (black, blue, red, green)
- Clear tape (3M Scotch magic tape)
- Paper scissors
- Pattern drafting paper
Sewing Kit
- Pins (sewing & push pins)
- Tailor’s chalk
- Dressmaking shears
- Calico – at least 3metres for toile
- Thread and notions (zip? buttons?)
[1]Jack Handford. Professional Pattern Grading. 2003. Bloomsbury Publishing.
